Introduction
In the JUST EAT Android team, we use a continuous integration system called TeamCity, which compiles and packages the app, installs it on our test devices, runs the tests on each one and then reports the result back to TeamCity. The team uses Git for version control of the code, and our build server is linked to activity on the repository and will automatically run jobs when certain events occur. The main problem I found myself solving with this setup was that the emulators would eventually crash if they were kept running.
The build server’s functional tests job
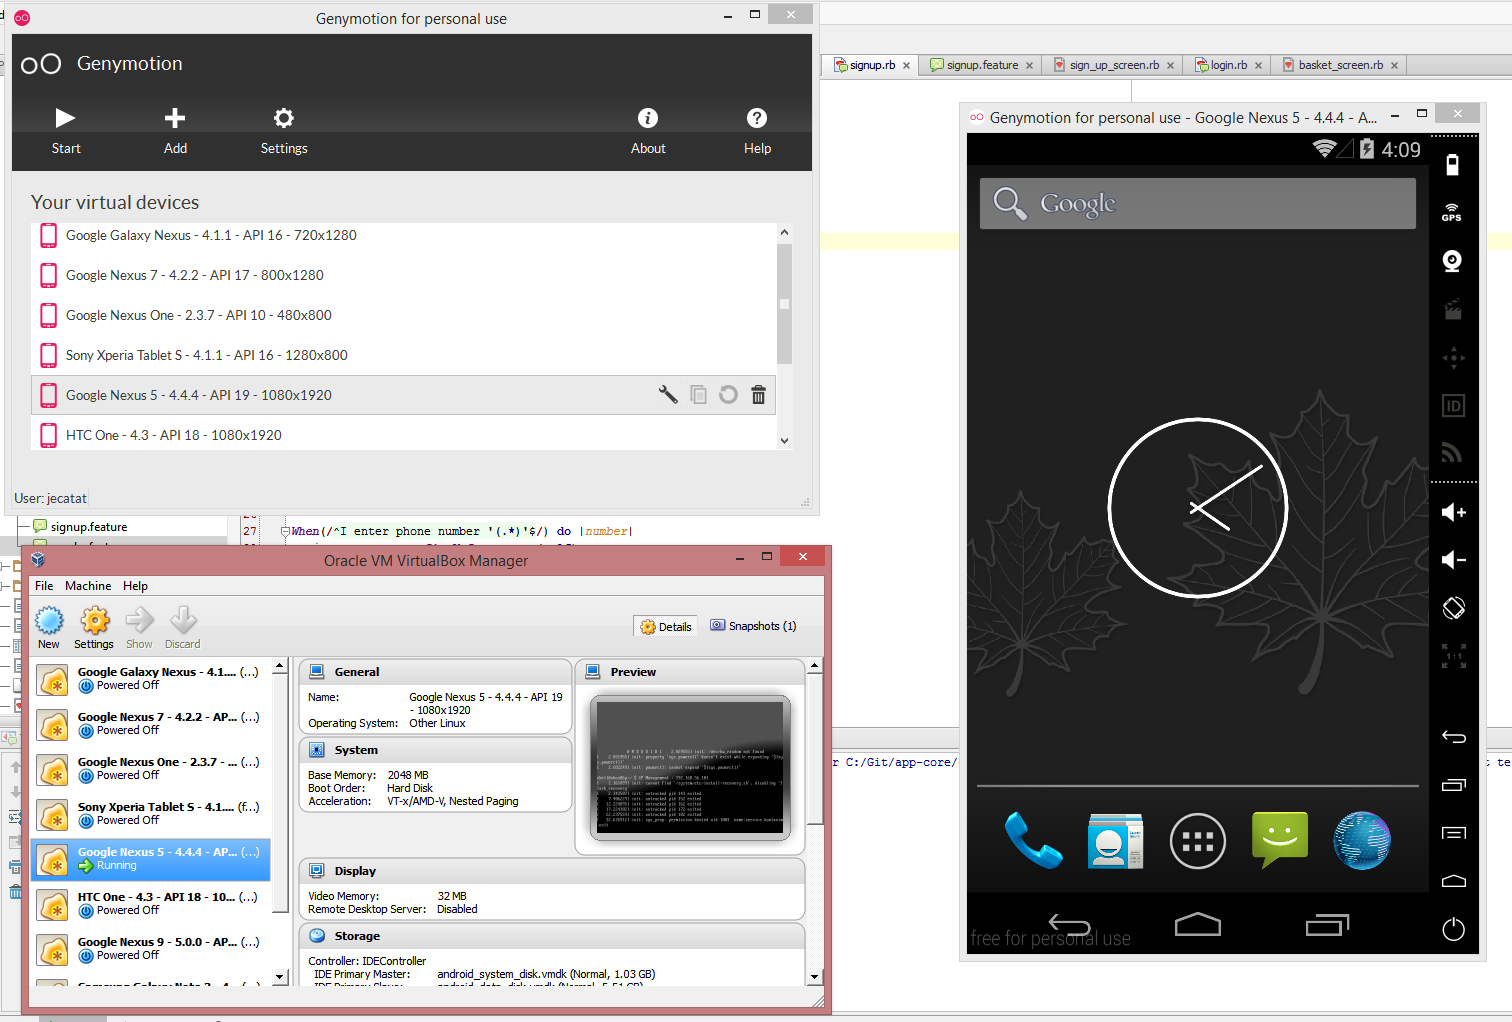
The team’s TeamCity build agent kicks off functional tests on a variety of devices each time there is a merge into the develop branch of the Android repository. We have a separate build job for each device to give us visibility of test successes/failures on a per-device basis. Some of the devices are real ones plugged into the build machine, while some are emulated using an Android emulator called Genymotion. We decided to test more on emulated devices than real ones due to problems with the physical devices losing wifi intermittently, running out of battery due to only being trickle-charged by the machine, and occasionally just losing connection to the machine (cables just add another point at which to fail!)
The first problem
Unfortunately, all Android emulators are sometimes prone to crashing if left running for a while. However, Genymotion is still viewed by the Android community (and us!) as the best emulator programs for Android, especially in terms of speed, so giving up Genymotion wouldn’t have been the correct solution here. The emulators were left constantly for days, reinstalling the app and running test suite after test suite, and would always inevitably crash and require some manual rebooting. I decided to find a way to launch each device every time a suite was due to run on it, and close it again when the tests were complete.
Genymotion comes with its own shell as a separate program, which executes commands with the emulators including starting devices (but at first glance I couldn’t find a command to shut them down). You can start an emulator with the ‘player’ command:
/Applications/Genymotion.app/Contents/MacOS/player --vm-name <VM name / VM id>
I shut the emulator down with a ruby script just using the build machine’s process list. This means I can also kill the emulator task if it has frozen:
player_grep = `ps aux | grep player.app/Contents/MacOS/player`
`pkill player` if player_grep.lines.count > 1
(This last number is 1, not 0, because the act of searching with grep creates a new process, and that process contains the string I’m grepping for! Grepception.)
Genymotion uses VirtualBox behind the scenes. When specifying the device parameter, you can either use the device’s name as displayed in Genymotion, or you can use its associated VirtualBox ID. I used the IDs because they would always be constant for the installation of that emulator, while one could easily change the title of the device in Genymotion’s main window at any time.
So I needed to find out the Virtual Machine IDs of each of my Genymotion devices. I did this with VirtualBox’s own VboxManage executable, which is in the VirtualBox installation directory:
/Applications/VirtualBox.app/Contents/MacOS/VBoxManage list vms
Output:
"Google Nexus 5 - 5.0.0 - API 21 - 1080x1920" {8703de0c-763d-41d3-9ec9-fac79f912a9a}
"Google Nexus 9 - 5.0.0 - API 21 - 2048x1536" {935ec14b-7e22-4177-9386-1118e01231d8}
"Samsung Galaxy Note 3 - 4.4.4 - API 19 - 1080x1920" {9303b388-246e-4eb4-b426-1414d3ac3a22}
"Samsung Galaxy S4 - 4.4.4 - API 19 - 1080x1920" {a20cf63e-9b75-41f9-936f-7887b002de62}
"Samsung Galaxy S5 - 4.4.4 - API 19 - 1080x1920" {9e7b825c-e70a-4fca-af77-fc744c066791}
So now I can launch the Galaxy S4 emulator with one command:
/Applications/Genymotion.app/Contents/MacOS/player –-vm-name a20cf63e-9b75-41f9-936f-7887b002de62
I can now execute the launching of each emulator as a build step inside their respective build jobs.
The second problem
The Android SDK has a program called ‘Android Debug Bridge‘, which is used for interaction between a system and a connected Android device. Each android device has its own serial number, which can be viewed by the command ‘adb devices’, with an optional ‘-l’ parameter also printing out extra useful information such as the model. Unfortunately, the device serials for all the emulators were dynamically-generated IP addresses and would be different every time an emulator was booted up. I haven’t found a way to set static device serials on emulators. I couldn’t set this in the VM settings either; you can alter the network configuration of a device, but not the serial ID of a device as it appears in adb.
The output for ‘adb devices -l’ looks like this:
List of devices attached
3004526803f69100 device product:goldenve3gxx model:GT_I8200N device:goldenve3g
192.168.56.101:5555 device product:vbox86p model:Galaxy_Note_3_4_4_4 device:vbox86p
The number on the left is the serial and there are several bits of information on the right of the line.
I collaborated with Beccy writing a script which runs after an emulator is launched. As it boots up, the script loops round once a second for 60 seconds, parsing the output from an ‘adb devices’ command. It reads each line of ‘adb devices -l’, splits up the chunks of information and maps them together in an array. Then the script takes a device_name parameter, sent in by TeamCity, and searches for this inside the array. If found, it returns the matching serial for that map. If not, it throws an error of ‘Device not found’.
tries = 60
device_found = false
puts 'Searching for device...'
tries.times do
  # rubocop:disable Metrics/LineLength
  adb_devices = `adb devices -l`.gsub('List of devices attached', '').strip.split("\n")
  devices = {}
  sleep 1
  next unless adb_devices
  adb_devices.each do |device_line|
    device_serial = device_line.split[0].to_s
    device_name = device_line.split('model:')[1].split(' ')[0].to_s
    devices[device_name] = device_serial
  end
  device_name = ARGV[0]
  if devices.include? device_name
    device_found = true
    file = File.open('device_serial.txt', 'w')
    file << devices[device_name]
    file.close
  end
  break if device_found
end
adb_devices = `adb devices -l`
puts 'adb devices = ' + adb_devices unless device_found
fail 'Device not found' unless device_found
puts 'Device found'
If the device was found, the script will have written the device serial to a file, which I can then read in a later build step and use to tell adb to launch the tests only on that device. You can specify a single device when using adb by using its serial a ‘-s’ parameter:
adb -s 192.168.56.101:5555 <command>
The 3rd problem
Once a Genymotion emulator has opened, it appears in ‘adb devices’ while it is still booting up. This means the next build steps would fail to run the tests because the device wasn’t ready to receive commands like installing apps.
I got round this by using ADB again. With it, you can access the device’s own shell and therefore get extra info from and send more commands to the device. I used the following useful command to check if the device had finished its boot cycle or not:
adb -s <deviceID> shell getprop init.svc.bootanim
This returns ‘running’ if the device is still booting and ‘stopped’ if it has booted. Now all I had to do was write a script that ran this command in a loop for up to 60 seconds and wait until the output of this shell command equalled ‘stopped’:
for i in $(seq 1 60);
do
boot_state=$(adb -s `cat device_serial.txt` shell getprop init.svc.bootanim)
if [[ ! -z $(echo $boot_state | grep 'stopped') ]]; then
    echo 'DEVICE BOOTED'; exit 0
fi
sleep 1
done
echo "Device didn't boot within the time limit"; exit 1
If the bootanim query returned ‘stopped’ within 60 seconds, the script would exit with success code 0, otherwise after the 60 seconds is up and the command hasn’t returned ‘stopped’, the script would exit with failure code 1
The 4th problem
When you start a Genymotion emulator using the ‘player’ command, the terminal you executed the task in would be stuck running that command until the emulator was closed again. This was a problem for our each of our build jobs, which would run in one shell from start to finish. For this reason, I put the emulator launch command (the one that uses ‘player’) in a ‘.sh’ script for each device, and executed them in the specific job’s terminal with the ‘open’ command. This spawned a new terminal, freeing the main one up immediately.
However, this meant that when the tests had run and the job had finished, this left a tower of dead terminals on the screen.
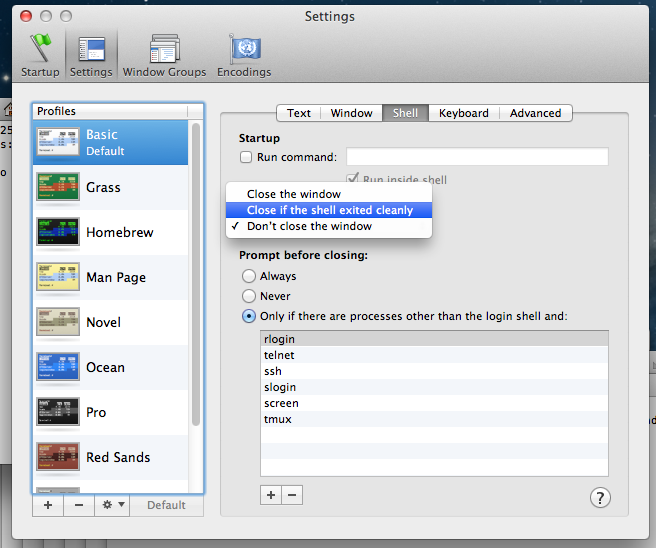
You can change Terminal’s preferences to exit once a command is complete. But don’t worry, this only affects my terminals which are spawned with the ‘open’ command; it doesn’t exit the terminal every time you do something normally.
Thanks for reading! =D
-Andy Barnett, Test Automation Engineer